

파이어베이스 공식 문서(Firebase Authentication (google.com))에 보면 여러가지 authentication 방법들이 있는데
보통 많이들 사용하는 소셜 로그인(구글, 깃허브, 페이스북 등등)도 사용할 수 있고
가장 쉽고 일반적으로 사용하는 이메일 로그인 방법을 이용할 수 있다.
먼저 사용할 리액트 앱을 하나 만들고
firebase dependency를 설치한다
npm i firebase
그리고 먼저 firebase config를 꼭꼭 설정해주어야 한다
안하면 연결이 안됨!
프로젝트 설정에 들어가서 SDK를 복사해서 사용한다
깃허브 같은 공개적인 곳에 올릴때는 git ignore을 이용해서 다른 곳에 옮겨놓는 방법이 있으니
찾아보길 바람
// firebase.js

// firebase 연결하기!
import firebase from "firebase";

// initialize
const firebaseConfig = {
  apiKey: "// 복붙 ㄱㄱ",
  authDomain: "// 복붙 ㄱㄱ",
  projectId: "// 복붙 ㄱㄱ",
  storageBucket: "// 복붙 ㄱㄱ",
  messagingSenderId: "// 복붙 ㄱㄱ",
  appId: "// 복붙 ㄱㄱ",
  measurementId: "// 복붙 ㄱㄱ"
}

const firebaseApp = firebase.initializeApp(firebaseConfig);
src 디렉토리에 firebase.js를 만들어서 위처럼 firebaseConfig 객체에 SDK 값을 넣어준다.
그리고 initializing 하면 연결 완료!
그리고 사용할 js파일에서 import 해서 사용하면 된다.
// App.js

import { BrowserRouter as Router, Route } from 'react-router-dom'
import db from "./firebase";
import firebase from 'firebase';
import Main from './pages/Main';
import Home from './pages/Home';


export default function App() {

  return (
    <div>
      <Router>
        <Route path="/" exact render={(props) => <Main />} />
        <Route path="/main" exact render={(props) => <Home />} />
      </Router>
    </div>
  )
}
간단하게 react router를 이용해서 구현해볼 것이기 때문에 App.js 에만 db라는 이름으로 import 해줬다
(보통 firestore을 db로서 이용하기 때문에 저런식으로 많이들 사용하는듯)
// Main.js

import React from 'react';
import { BrowserRouter as Router, Route, Switch } from 'react-router-dom';
import AddAuth from '../components/AddAuth';
import Login from '../components/Login';

export default function Main() {
  return (
    <div>
      <Router>
      <h1>메인페이지 임미다</h1>
        <Switch>
          <Route path="/" exact component={AddAuth} />
          <Route path="/login" exact component={Login} />
        </Switch>
      </Router>
    </div>
  )
}
메인 페이지에다 가입, 로그인 컴포넌트를 넣어줬다
import React, { useState } from 'react';
import firebase from 'firebase';
import { Link } from 'react-router-dom';

export default function AddAuth() {

  const [ inputId, setInputId ] = useState('');
  const [ inputPwd, setInputPwd ] = useState('');

  const addAuth = () => {
    firebase.auth().createUserWithEmailAndPassword(inputId, inputPwd)
      .then((userCredential) => {
        console.log(userCredential);
        setInputId('');
        setInputPwd('');
      }).catch((err) => {
        let errCode = err.code;
        let errMsg = err.message;
        console.log(errCode);
        console.log(errMsg);
      })
  }


  return (
    <div>
      <h5>아디를 만들어 봅시당</h5>
      <div>
        <input type="email" placeholder="id" onChange={(e) => setInputId(e.target.value)} />
        <input type="password" placeholder="pwd" onChange={(e) => setInputPwd(e.target.value)} />
        <button onClick={addAuth}>아이디 생성</button>
        <Link to="/login"><button>바로 로그인하기</button></Link>
      </div>
    </div>
  )
}
간단하게 id, password input으로 계정을 생성하는 코드를 짰다
버튼을 누르면 계정을 생성하는 함수가 작동한다.
정말 간단하게도
firebase를 import 해놓은 상태에서
firebase.auth().createUserWithEmailAndPassword("email 넣는 곳", "비밀번호 넣는곳")이렇게만 해주면 계정이 생성된다 wow
에러도 catch 문을 사용해서 에러 코드와 에러 메세지를 읽을 수 있다(공식문서에서 그렇게 쓰임)
email 형식을 띄지 않거나 비밀번호가 6자리 이하면 에러 메세지를 내놓으니 주의하길 바람

이런식으로 만들어진다
계정이 성공적으로 만들어지면
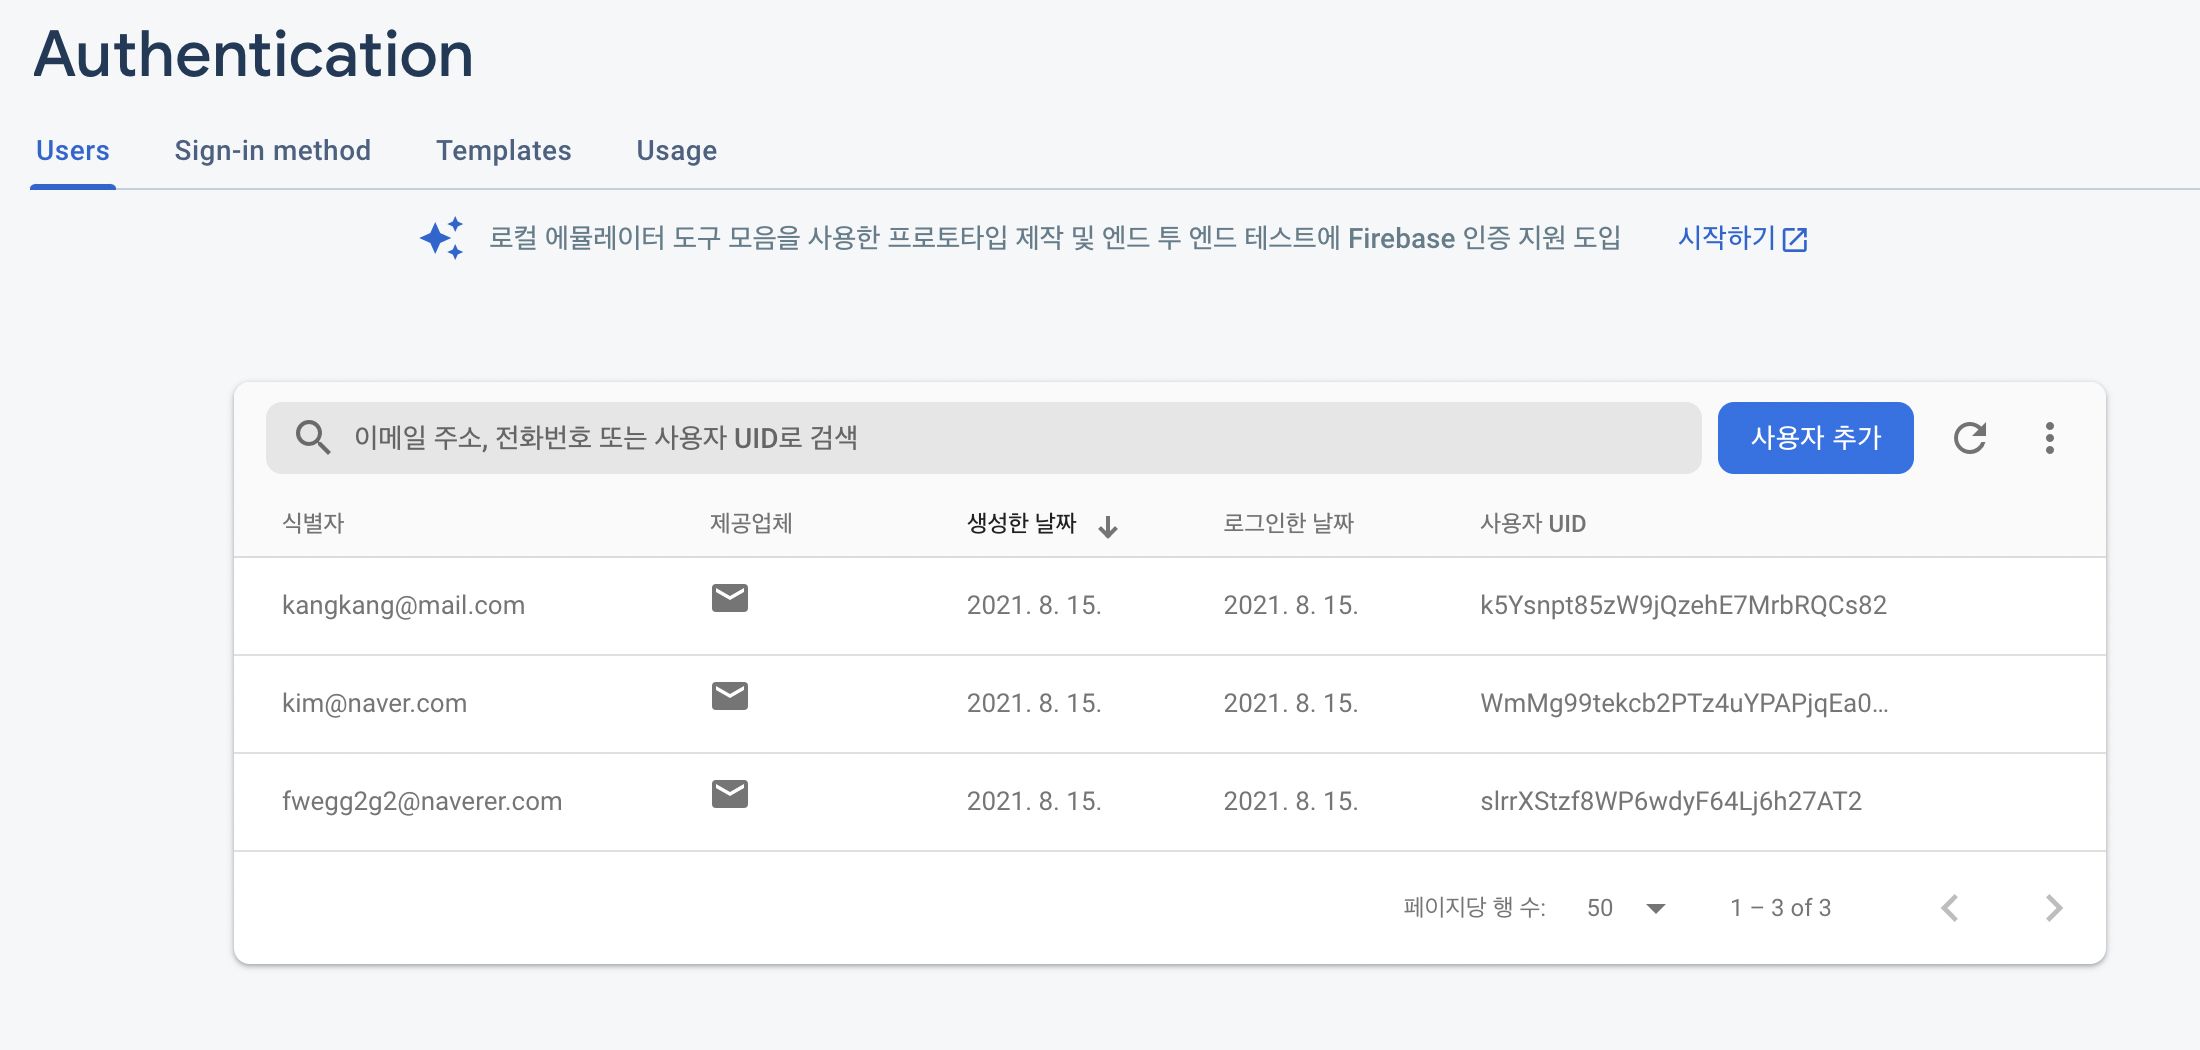
이런식으로 만들어진 계정을 authentication 에서 확인할 수 있다
링크돼있는 버튼을 눌러서 로그인을 하러 가보자
import React, { useState } from 'react'
import firebase from 'firebase';

export default function Login() {

  const [inputId, setInputId] = useState('');
  const [inputPwd, setInputPwd] = useState('');

  const loginBtn = () => {
    firebase.auth().signInWithEmailAndPassword(inputId, inputPwd)
      .then((userCredential) => {
        console.log(userCredential);
        console.log('로그인이 완료되었습니다.');
        document.location.href = '/main'
      }).catch((err) => {
        let errCode = err.code;
        let errMsg = err.message;
        console.log(errCode);
        console.log(errMsg);
      })
  }

  return (
    <div>
      <h5>로그인을 해봅시당</h5>
      <input type="email" onChange={(e) => setInputId(e.target.value)} />
      <input type="password" onChange={(e) => setInputPwd(e.target.value)} />
      <button onClick={loginBtn}>로그인</button>
    </div>
  )
}
방금과 똑같이 useState로 input입력값을 로그인 인수에 넣어준다.
로그인 하는 방식도 한줄이면 충분하다
firebase.auth().signInWithEmailAndPassword("이메일", "비밀번호")
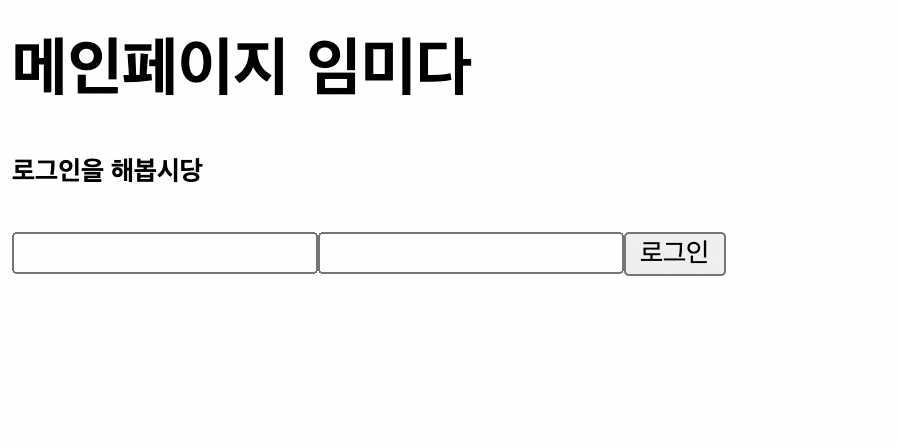
/login 여기서 로그인을 할 수 있다
로그인이 완료되면 콘솔을 띄워주고 /main 으로 이동한다.

로그인이 성공하여 홈페이지로 연결되었다.
단순히 링크 연결만 시킨거라 이 사이트는 아무나 들어올 수도 있는거지만
이렇게 계정 생성과 로그인을 간단하게 할 수 있다